- Home
- Magazine
- All about bikes
- Tips for DIY mechanicss
- Chain Lubrication System
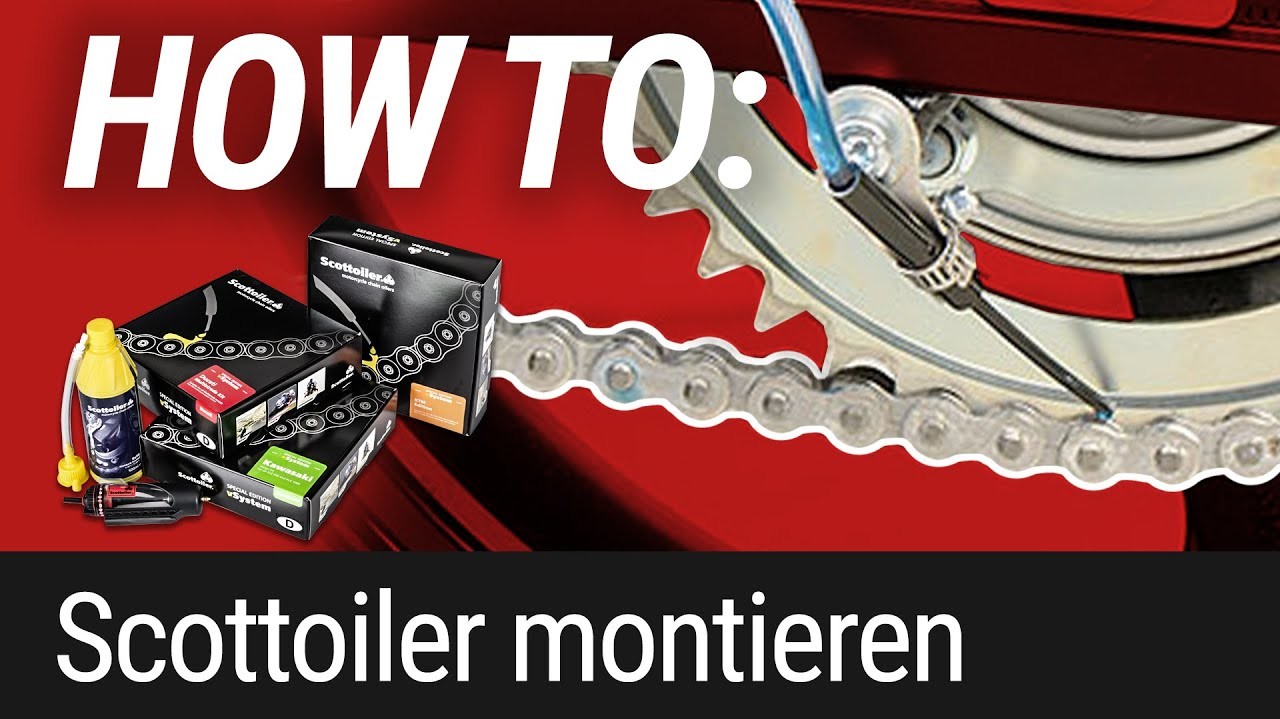
Installing a chain lubrication system on a motorbike
Drive chain and sprockets have a tough job. Permanent lubrication, e.g. with a Scottoiler, extends their life by thousands of miles.

Louis How To Videos
Note: The videos are in German.
- Scottoiler installation
- Scottoiler installation – now let's get started
- 01 – Vacuum connection
- 02 – Connect up to the vacuum
- 03 – Install the reservoir
- 04 – Install the oil injector nib and oil tube
- 05 – Clean and degrease the surfaces
- 06 – Route the delivery tube
- 07 – Fill the reservoir with oil
- 08 – Expel bubbles and vent the delivery tube
- 09 – Adjust the flow rate
Important: You will find instructions for installing the Scottoiler system on many different motorbikes on Scottoiler - Brand shop.
Scottoiler installation
Of all your motorbike's components, the drive chain and sprockets certainly have one of the toughest jobs to do, which is why they're subject to a lot of wear and tear. No wonder, really, because every time you open/close the throttle or hit the brake, the drive chain components are subjected to constant pulling and twisting.
Efficient lubrication and keeping your chain as free of abrasive dirt as possible will greatly reduce wear. But regular cleaning and re-greasing is not exactly everybody's favourite job, so it tends to get neglected. Even more so if your bike doesn't have a centre stand, so maintaining your chain also means dragging out the workshop jack – not even an option if you're out on a long tour.
But the fact remains that if you want a long-lasting, smooth-running chain that doesn't waste any engine power, you need to bite the bullet and regularly give your chain a thorough clean with a special product to get rid of abrasive dirt and sand. Premature wear means the expense of a new chain and sprockets sooner than necessary. And the dirty job of changing the components isn't something that everyone looks forward to. So should you have bought a shaft-drive bike instead? Not at all. Because, believe it or not, a chain drive also has its advantages. For example, friction losses are considerably lower than with the technically far more complicated, and therefore expensive, driveshaft. Power transmission is more direct and your bike retains not only its full performance, but also its sporty look.
The solution to this dilemma is an automatic chain lubrication system, such as the Scottoiler. This is permanently installed on the motorcycle and automatically cleans and lubricates the chain continuously, thus reducing your maintenance work to virtually zero. All you have to do is refill the oil reservoir every couple of thousand miles. The reservoir holds 50 ml, and that's enough for around 2,500 km (1,500 miles), depending on the setting and whether you fill it right to the top. Your chain will reward you by lasting for well over 50,000 km (30,000 miles), again depending on the type of bike and your riding style. So it's not only kind to your pocket, but also lets you concentrate on what you really enjoy – namely riding your bike.
The following section explains the set-up of a classic vacuum-controlled chain lubrication system. An electrical system (also from Scottoiler) is installed in a very similar way, except that steps 1 and 2 below can be omitted. Instead of a tube connected to the vacuum system, the E-system is cable-connected to the positive and negative terminals of the battery.
Before installing the system, put your bike on the centre stand or a rear paddock stand, making sure that it's stable. To find out which sort of stand is most suitable for your particular motorbike, take a look at our DIY tip Motorcycle Stand Basics. Using a chain cleaner, a plastic brush and a cloth, first give the chain and any other components that are greasy a good clean (the chain grease usually collects around the transmission output sprocket). If you omit this step, the oil from the chain lubrication system will loosen any old deposits of dirty chain grease, which will be flung off the chain onto your bike.
Scottoiler installation – now let's get started

Step 1: T-piece inserted at the vacuum connection
01 – Vacuum connection
With most models, the first step is to remove the tank or parts of the fairing, if you have one. The example illustrated shows a vacuum tube coming from the brass spigot of the intake port – this is where you will draw the vacuum required to operate the Scottoiler. Cut this supply line and insert the T-piece contained in the kit.

Step 2: Connect up to the vacuum
02 – Connect up to the vacuum
Now push the black vacuum damper elbow (included in the kit) onto the free end of the T-piece, and press the black vacuum tube of the chain lubrication system firmly into the other end of the vacuum damper elbow. Once you've installed the oil reservoir, insert the free end of the black vacuum tube into the rotary knob of the reservoir.

Step 3: Install the reservoir
03 – Install the reservoir
The Reservoir Metering Valve (RMV) can be installed under the seat, or on the frame, or wherever you prefer. You will find installation suggestions in the model-specific instructions on Scottoiler - Brand shop.
Avoid mounting it right next to the exhaust or any hot engine parts! The filler opening for the oil and the adjuster knob for the oil flow must be easily accessible, so if you opt for horizontal installation, make sure that they point upwards. Likewise, in the case of vertical installation, the reservoir must be installed with the adjuster knob uppermost.
Once you've installed the reservoir, push the free end of the black vacuum tube firmly into the head section of the RMV. If the tube is too long, simply trim to the right length using a sharp knife. The vacuum connection is now complete.

Step 4: Install the oil injector nib and oil tube
04 – Install the oil injector nib and oil tube
To ensure that the oil is applied at the right place on the sprocket, the injector must be securely attached. On our example motorbike, you can use a small or shortened dispenser plate to attach the injector to the bobbin support (Scottoiler comes with several useful fittings). You will find installation suggestions for the injector nib in the specific installation instructions on Scottoiler - Brand shop.
The nib that supplies the oil should be lightly touching the sprocket, with the angled side facing outwards. The optimal feed point for the oil is between 5 and 7 o'clock on the outer face of the rear sprocket. Do not place the nib too close to the chain or to the bolts or cut-outs of the sprocket to avoid the risk of the injector nib catching and being pulled out of the tube! When you've finished installation, turn the wheel backwards to check that the nib does not catch on the chain or sprocket when you push your bike backwards!
Once you've attached the injector, run the delivery tube along the swing arm. Choose a safe routing to the RMV, making sure that the tube is not too close to any moving parts, such as the chain, and that it has enough slack to allow for the movement of the swing arm. Also avoid routing it too close to the hot exhaust or engine components, which may damage the tube. Self-adhesive fixing pads and cable ties for the tube are included in the Scottoiler kit.

Step 5: Clean and degrease the surfaces
05 – Clean and degrease the surfaces
Before attaching the fixing pads, remove all traces of dirt and grease, using the enclosed degreasing cloth.

Step 6: Route the delivery tube
06 – Route the delivery tube
Attach the fixing pads to flat surfaces, e.g. on the swing arm. For routing the delivery tube along round tubes, it's best to use the cable ties. The final step is to connect the delivery tube to the brass spigot on the bottom of the RMV. If the delivery tube is too long, simply trim to the right length using a sharp knife.

Step 7: Fill the reservoir with oil
07 – Fill the reservoir with oil
The filling spout allows you to fill the system in under a minute with no mess.

Step 8: Expel bubbles and vent the delivery tube
08 – Expel bubbles and vent the delivery tube
Bleeding the system couldn't be simpler. Press the rubber ventilation plug into the filler opening of the reservoir and turn the adjuster knob to maximum. Attach the filling spout to the ventilation plug and squeeze the bottle. The resulting air pressure will force the oil through the delivery tube until all air bubbles are expelled. It will also force a little oil out of the nib, which you can simply wipe away with a cloth.

Step 9: Adjust the flow rate
09 – Adjust the flow rate
Finally, adjust the oil flow rate. To do this, start the engine and wait until it has warmed up. Set the adjuster knob so that no more than 1 to 2 drops of oil a minute flow from the injector – an initial setting of 1 drop every 60 seconds is ideal. Go for a short spin on your motorbike, then check the flow rate again and adjust if necessary. A flow rate of more than 2 drops a minute will result in excess oil being flung off the chain.

A light oil film is sufficient for lubrication
Important: Experience shows that the flow rate is set far too high on many automatic chain lube systems, resulting in excessive "fling", so you end up with your bike covered in lube. This isn't a malfunction of the oiler, but rather it's down to incorrect use. Many bikers who use chain sprays think that a black chain is a well maintained chain, but the black colour actually comes from all the dirt particles sticking to the sprayed chain. With a chain lubrication system, however, lubricating your chain only requires a very thin film of oil, which is often virtually invisible. A simple way to check that you have the right setting is to touch the chain rollers with your finger. If this leaves a little oil on your finger, and you can feel the oil on the rollers, then the rate is correctly set. So when initially setting the flow rate, you should use a stopwatch or a clock/watch with a second hand. After a while, you will develop a feel for which setting is ideal for your bike.

Lube Tube auxiliary tank
The ingenious auxiliary tank for your Scottoiler kit. This flexible 200 ml tube tank will fit virtually anywhere and gives you an additional 9,500 km (6,000 miles). Further information on Scottoiler - Brand shop.
The Louis Technical Centre
If you have a technical question about your motorbike, please contact our Technical Centre, where they have endless experience, reference books and contacts.
Please note!
These tips for DIY mechanics contain general recommendations that may not apply to all vehicles or all individual components. As local conditions may vary considerably, we are unable to guarantee the correctness of information in these tips for DIY mechanics.
Thank you for your understanding.